Installation Tutorial: Mickey Mouse inspired ears wall decals

HOW TO INSTALL MICKEY MOUSE EARS WALL DECALS WITH A TRACER
Installing vinyl wall decals is super easy although it might look intimidating when you first open up your package. All the instructions are always included in your order so make sure to read through those first on how to prep walls etc.
This tutorial is specifically showing you how to install this set:
https://graphicsmesh.com/products/mickey-mouse-ears-with-personalized-baby-name-disney-inspired-wall-decals MEDIUM SIZE. It is being installed on a wall that is only 79 inches tall, so the graphic looks pretty big here. Always start with clean walls and these sort of decals work best on smooth surface.
When you take all the decals out of the package you will first need to separate all of them using scissors or a utility knife on a cutting mat. There is always a few extra ears included in your order as well as a random sample that you can use to practice installation.
Easiest way to install these is with a tracer. I borrowed mine from my sister :)
I took a tall plant stand I had in the house and placed a card board on it and then the image of the layout that comes with your order. To see the image on your wall you will need to turn down the lights.
PS. Sorry for the fuzzy pictures but in order for the tracer to work the lights need to be dimmed or off.
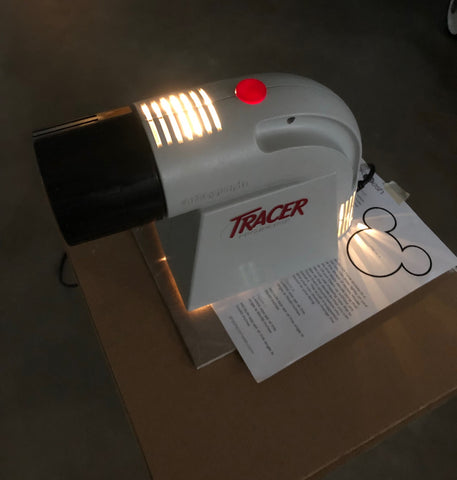
In the instructions provided I suggest you trace the main line of the shape of ears (Figure A on your installation sheet) and you can just install along that line as you please, or install exactly the same as I suggest which is Figure C on the layout instruction sheet. I followed the layout that is provided (Figure C on layout instructions sheet)
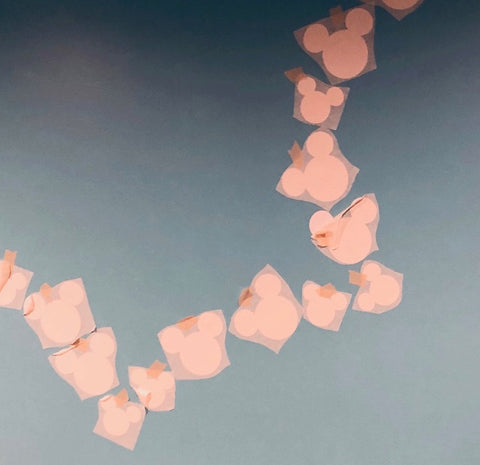
I taped up one of each of the ears first, then I moved the tracer back so that I can get the image to match the size of the ears. I used masking tape (or painters tape) so that I can still move the decals if i need to before final installation.

Once I had the size I needed in the right spot on the wall I just followed the projected image and taped up all the mickey ears.
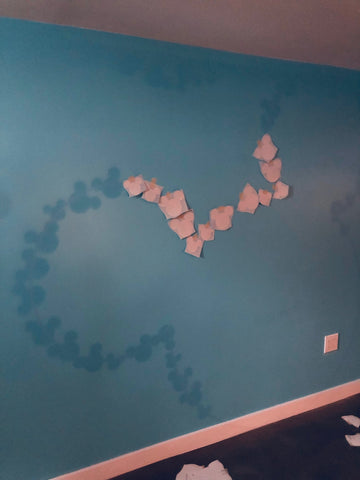


Once all the ears were taped up, I turned the lights back on and stepped back to see if I like the placement of all of them or if I need to shift any of them. If you have a crib or any other furniture that you want to place in front you can move it back now to see if that's how you like the decals.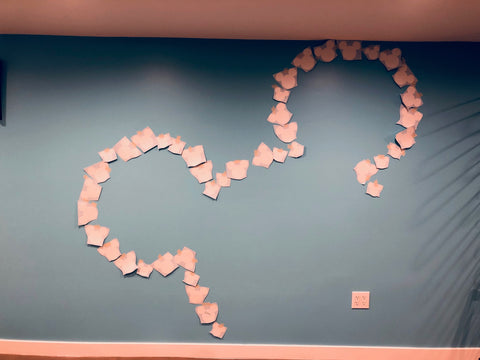
Next, is time to install the ears on to the wall. You install them one by one by removing the backing paper first and press down on the ears with squeegee.
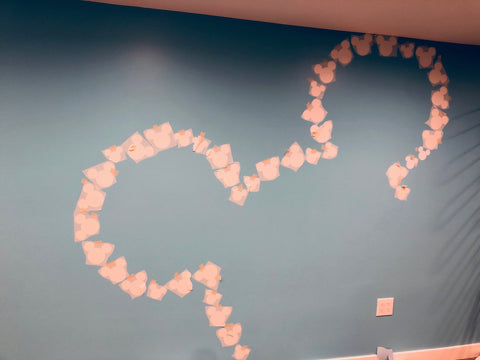
I had to peel off some of the transfer tape on some of the ears if it was in the way of installing the next piece.
Once all are installed you need to remove the transfer tape from each, carefully peel back the transfer tape close to the wall so that you don't remove the ears itself.
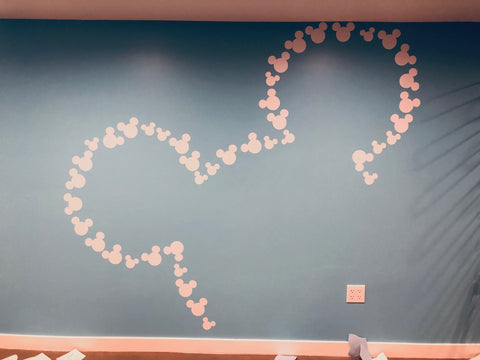
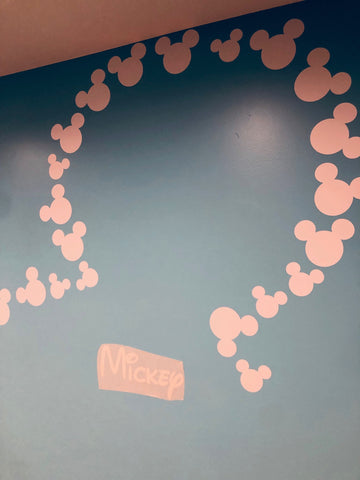
Then install the name the same way you installed the ears and you are done!
WHAT TO DO IF YOU DO NOT HAVE A TRACER?
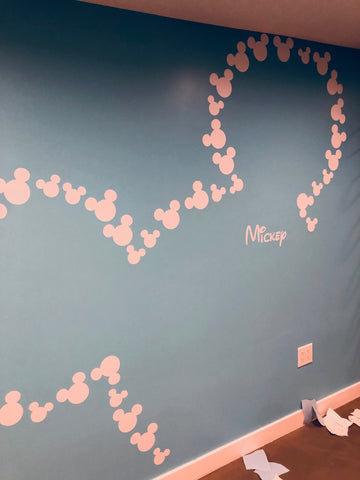
You can tape up the mickey ears free-handed! I first taped up the image on the wall as a guide and then I started to tape up the ears trying to get similar placement. I started in the center between the ears, somehow that seemed as the best spot to start with.
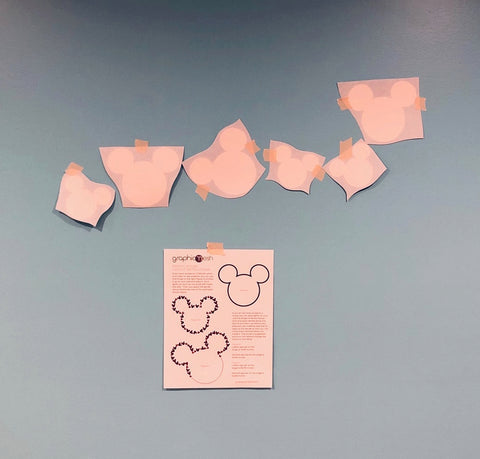
Continue to tape up all the ears...
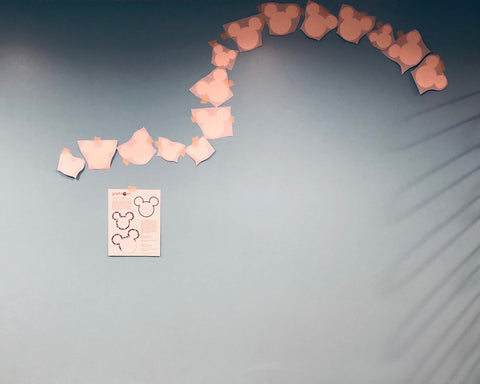
Once you have all the ears taped up (it will look a bit off I am sure) you need to step back and asses what needs to be moved and shifted. It will take a few tries and just keep shifting the ears a bit until you are satisfied with the layout. Then you can start to install the ears.
How did you do?!
Was it is easy or difficult?! Please share your thoughts and pictures with us!

Comments
0 Comments